

How To Fix An Iphone That Doesn T Charge
My iPhone 11 Won't Charge! Here's The Real Fix.
Your iPhone 11 is not charging and you're not sure why. No matter what you try, you can't seem to fix the problem. In this article, I'll explain what to do when your iPhone 11 won't charge!
Is My iPhone 11 Broken?
iPhone charging problems can be caused by its software or hardware. Right now, we can't be sure which is preventing your iPhone 11 from charging.
There are four key components of the charging process: your iPhone's software, your charging cable, your charger, and your iPhone's hardware. When one of these things fails to do its job, your iPhone 11 won't charge.
The steps below will help you determine where the charging process is breaking down and if a repair is necessary.
How To Fix An iPhone 11 That's Not Charging
7 Steps Total
1.
Hard Reset Your iPhone 11
A hard reset can temporarily fix minor software glitches and crashes.
- Press and release the volume up button.
- Press and release the volume down button.
- Press and hold the side button. Keep holding until the Apple logo appears on the display.
Applies To: iPhone 11
View More
2.
Inspect Your iPhone Cable (Lightning Cable)
Damaged Lightning cables are a common reason for iPhone problems, especially related to charging and transferring data between iPhones and computers.
Lightning cables can be tricky to diagnose because when they start to go, they usually don't break all at once. Sometimes an iPhone will continue to charge but won't sync data properly, or vice versa, because of the construction of the cable. Make sure to take a close look while you're troubleshooting!
How Do I Inspect My iPhone Cable (Lightning Cable)?
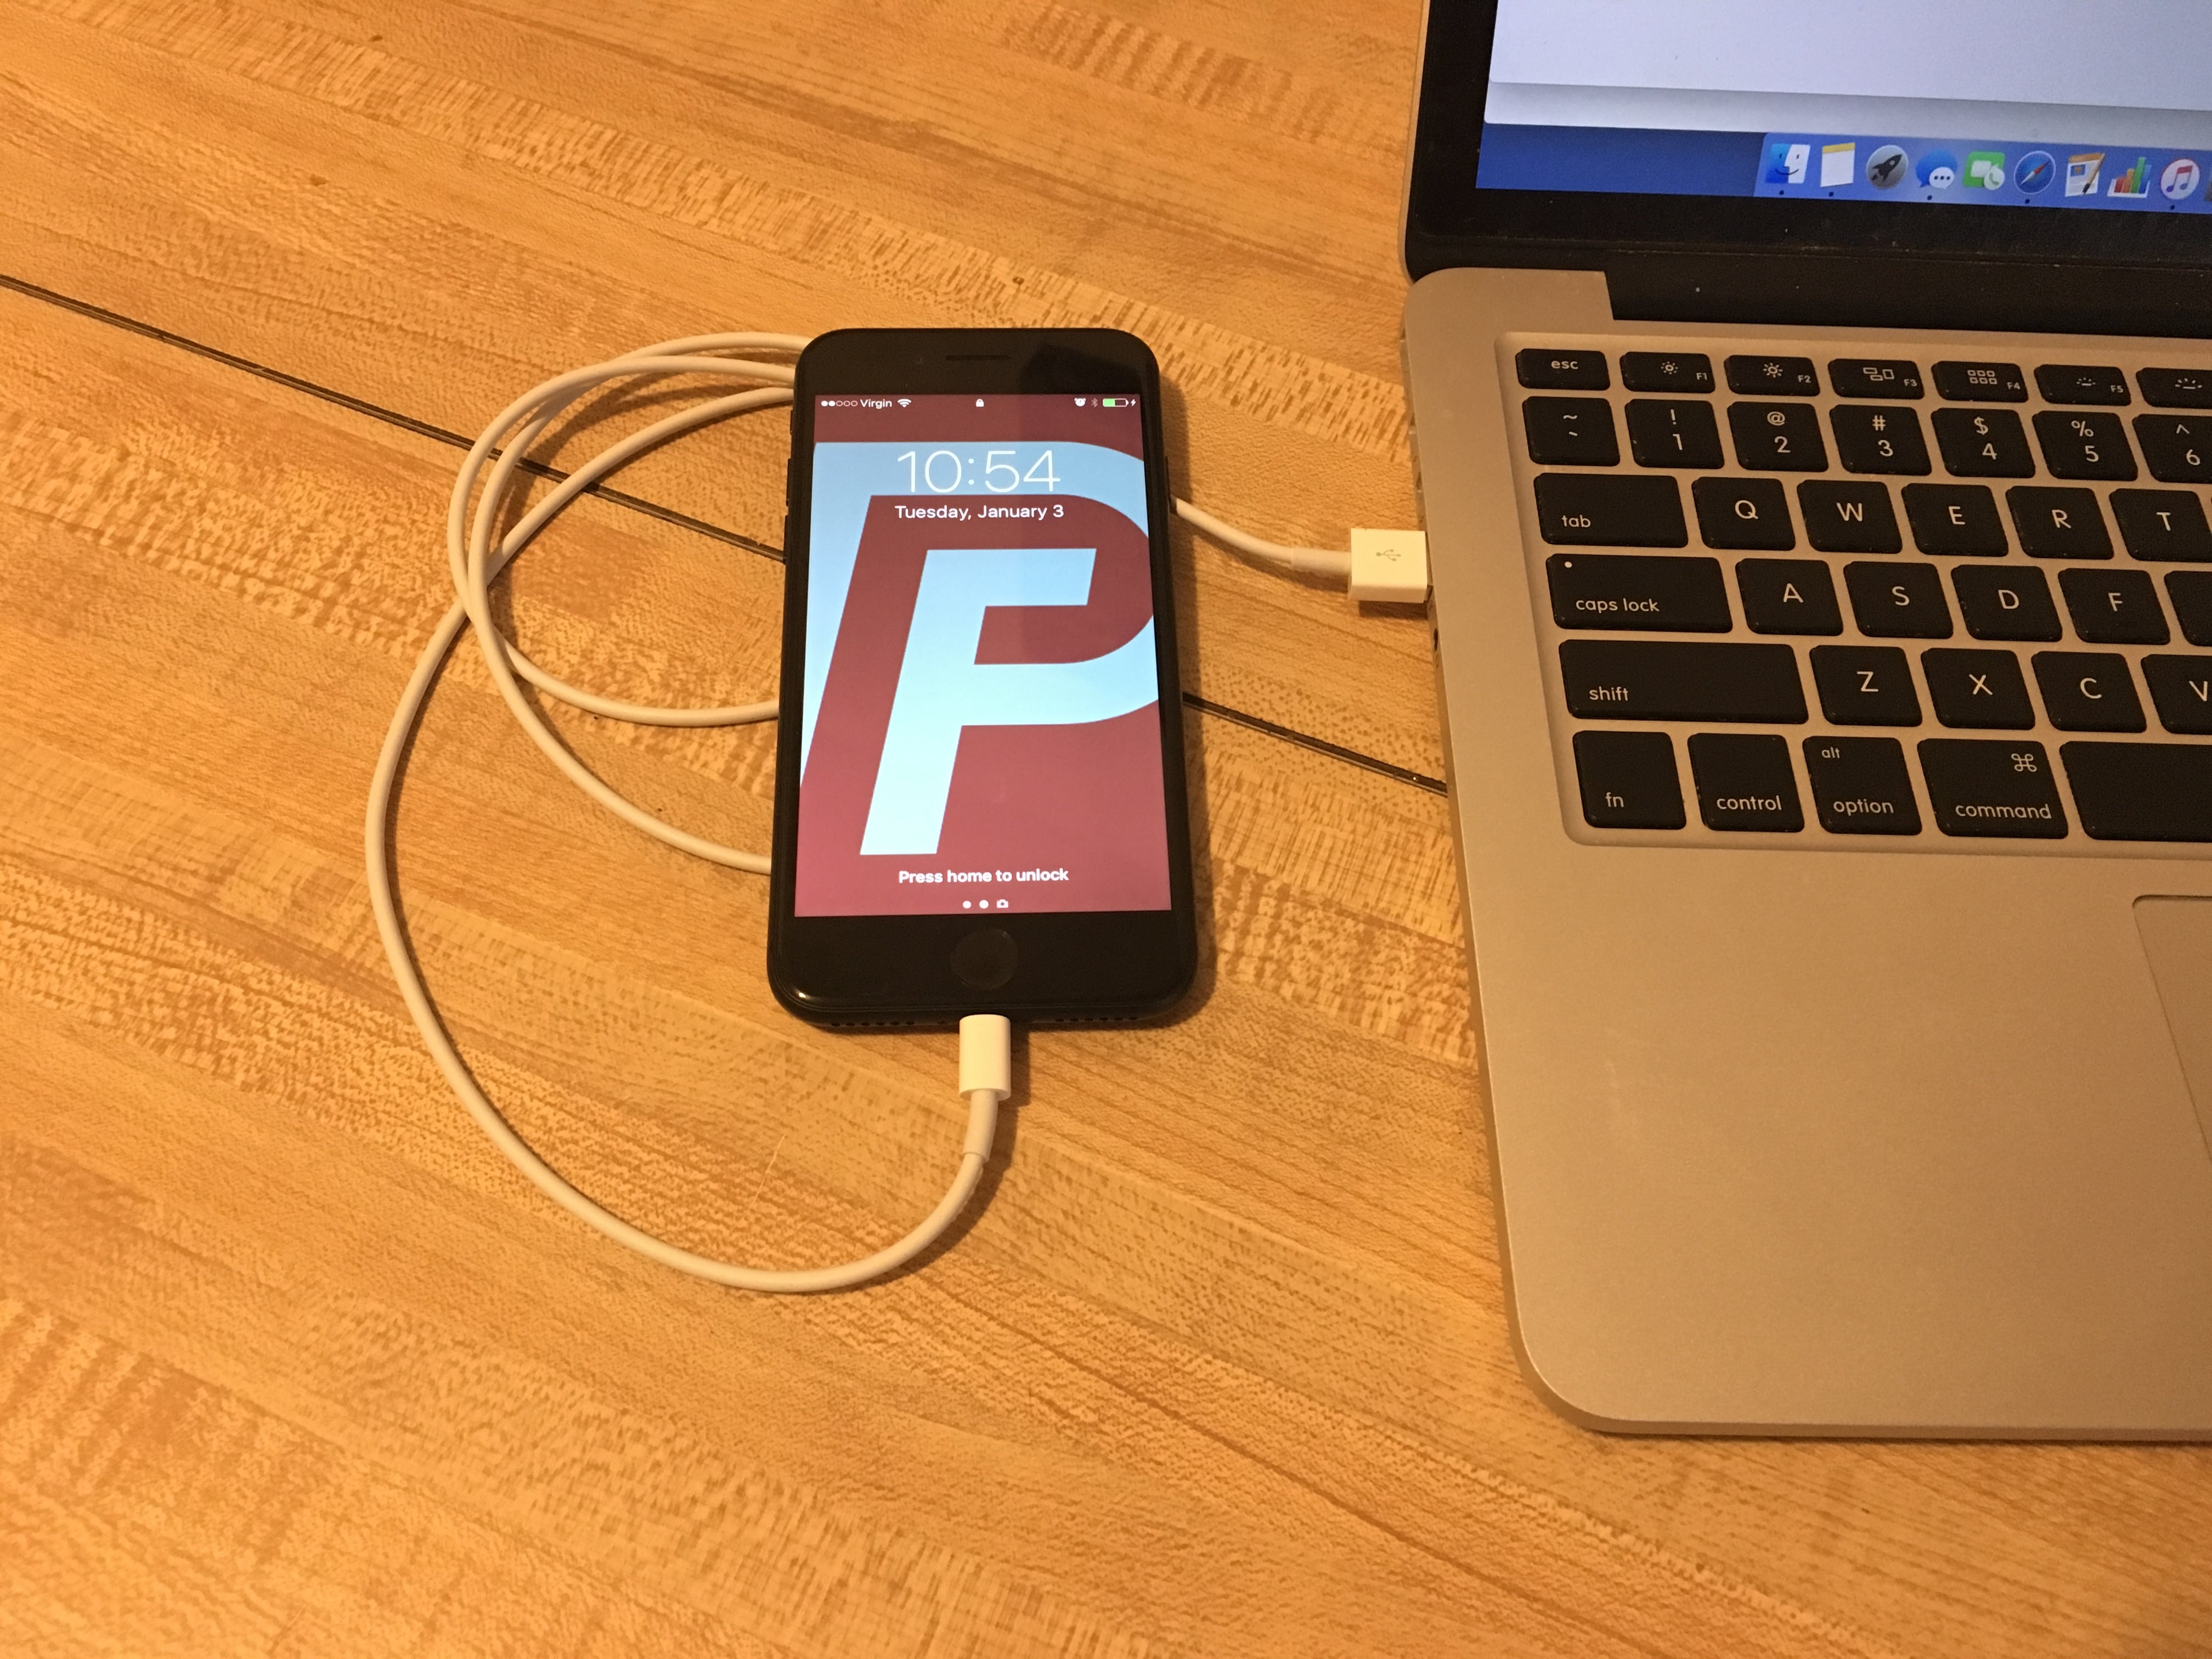
- Use a flashlight and look closely at both ends of your Lightning cable. These cables can become worn and tend to fray, especially at the end with the Lightning connector.
- If you see no visible signs of damage, try charging your device using both a USB port on a computer and the wall adapter which came with your iPhone. If your Lightning cable works with one, but not the other, then your cable is not the problem.
- Try charging your device with a friend's or family member's Lightning cable. If their cable works while yours doesn't, then you've identified that the problem is your Lightning cable.
Applies To: Lightning Cable,iPhone 5,iPhone 5S,iPhone 5C,iPhone 6,iPhone 6 Plus,iPhone 6S,iPhone 6S Plus,iPhone SE,iPhone 7,iPhone 7 Plus,iPhone 8,iPhone 8 Plus,iPhone X,iPhone XS,iPhone XS Max,iPhone XR,iPhone 11,iPhone 11 Pro,iPhone 11 Pro Max,iPhone SE 2
View More
3.
Inspect Your iPhone Charger
There are many different ways to charge your iPhone — plugging it into your laptop, wall adapter, car charger, and more. As a precautionary measure, the software of your iPhone will prevent charging if it detects fluctuations from the power source.

Previous
Next
How Do I Inspect My iPhone Charger?
- Charge your iPhone with multiple different power sources. If you normally use your wall charger, try using a USB port on your laptop, and vice versa.
- If your iPhone charges with one power source but not the other, then you know that the charger is causing your problem.
Applies To: iPhone 5,iPhone 5S,iPhone 5C,iPhone 6,iPhone 6 Plus,iPhone 6S,iPhone 6S Plus,iPhone SE,iPhone 7,iPhone 7 Plus,iPhone 8,iPhone 8 Plus,iPhone X,iPhone XS,iPhone XS Max,iPhone XR,iPhone 11,iPhone 11 Pro,iPhone 11 Pro Max,iPhone SE 2
View More
4.
Inspect Your iPhone's Charging Port (Lightning Port)
You should frequently inspect your Lightning port, also known as the charging port, to make sure it is clean. Lint, gunk, and other debris can prevent your Lightning port from making a solid connection with your Lightning cable.
A clogged Lightning port could also "trick" newer iPhones (without headphone jacks) intro thinking headphones are connected. This could lead your iPhone to get stuck in headphones mode.

Previous
Next
How Do I Inspect My iPhone's Charging Port (Lightning Port)?
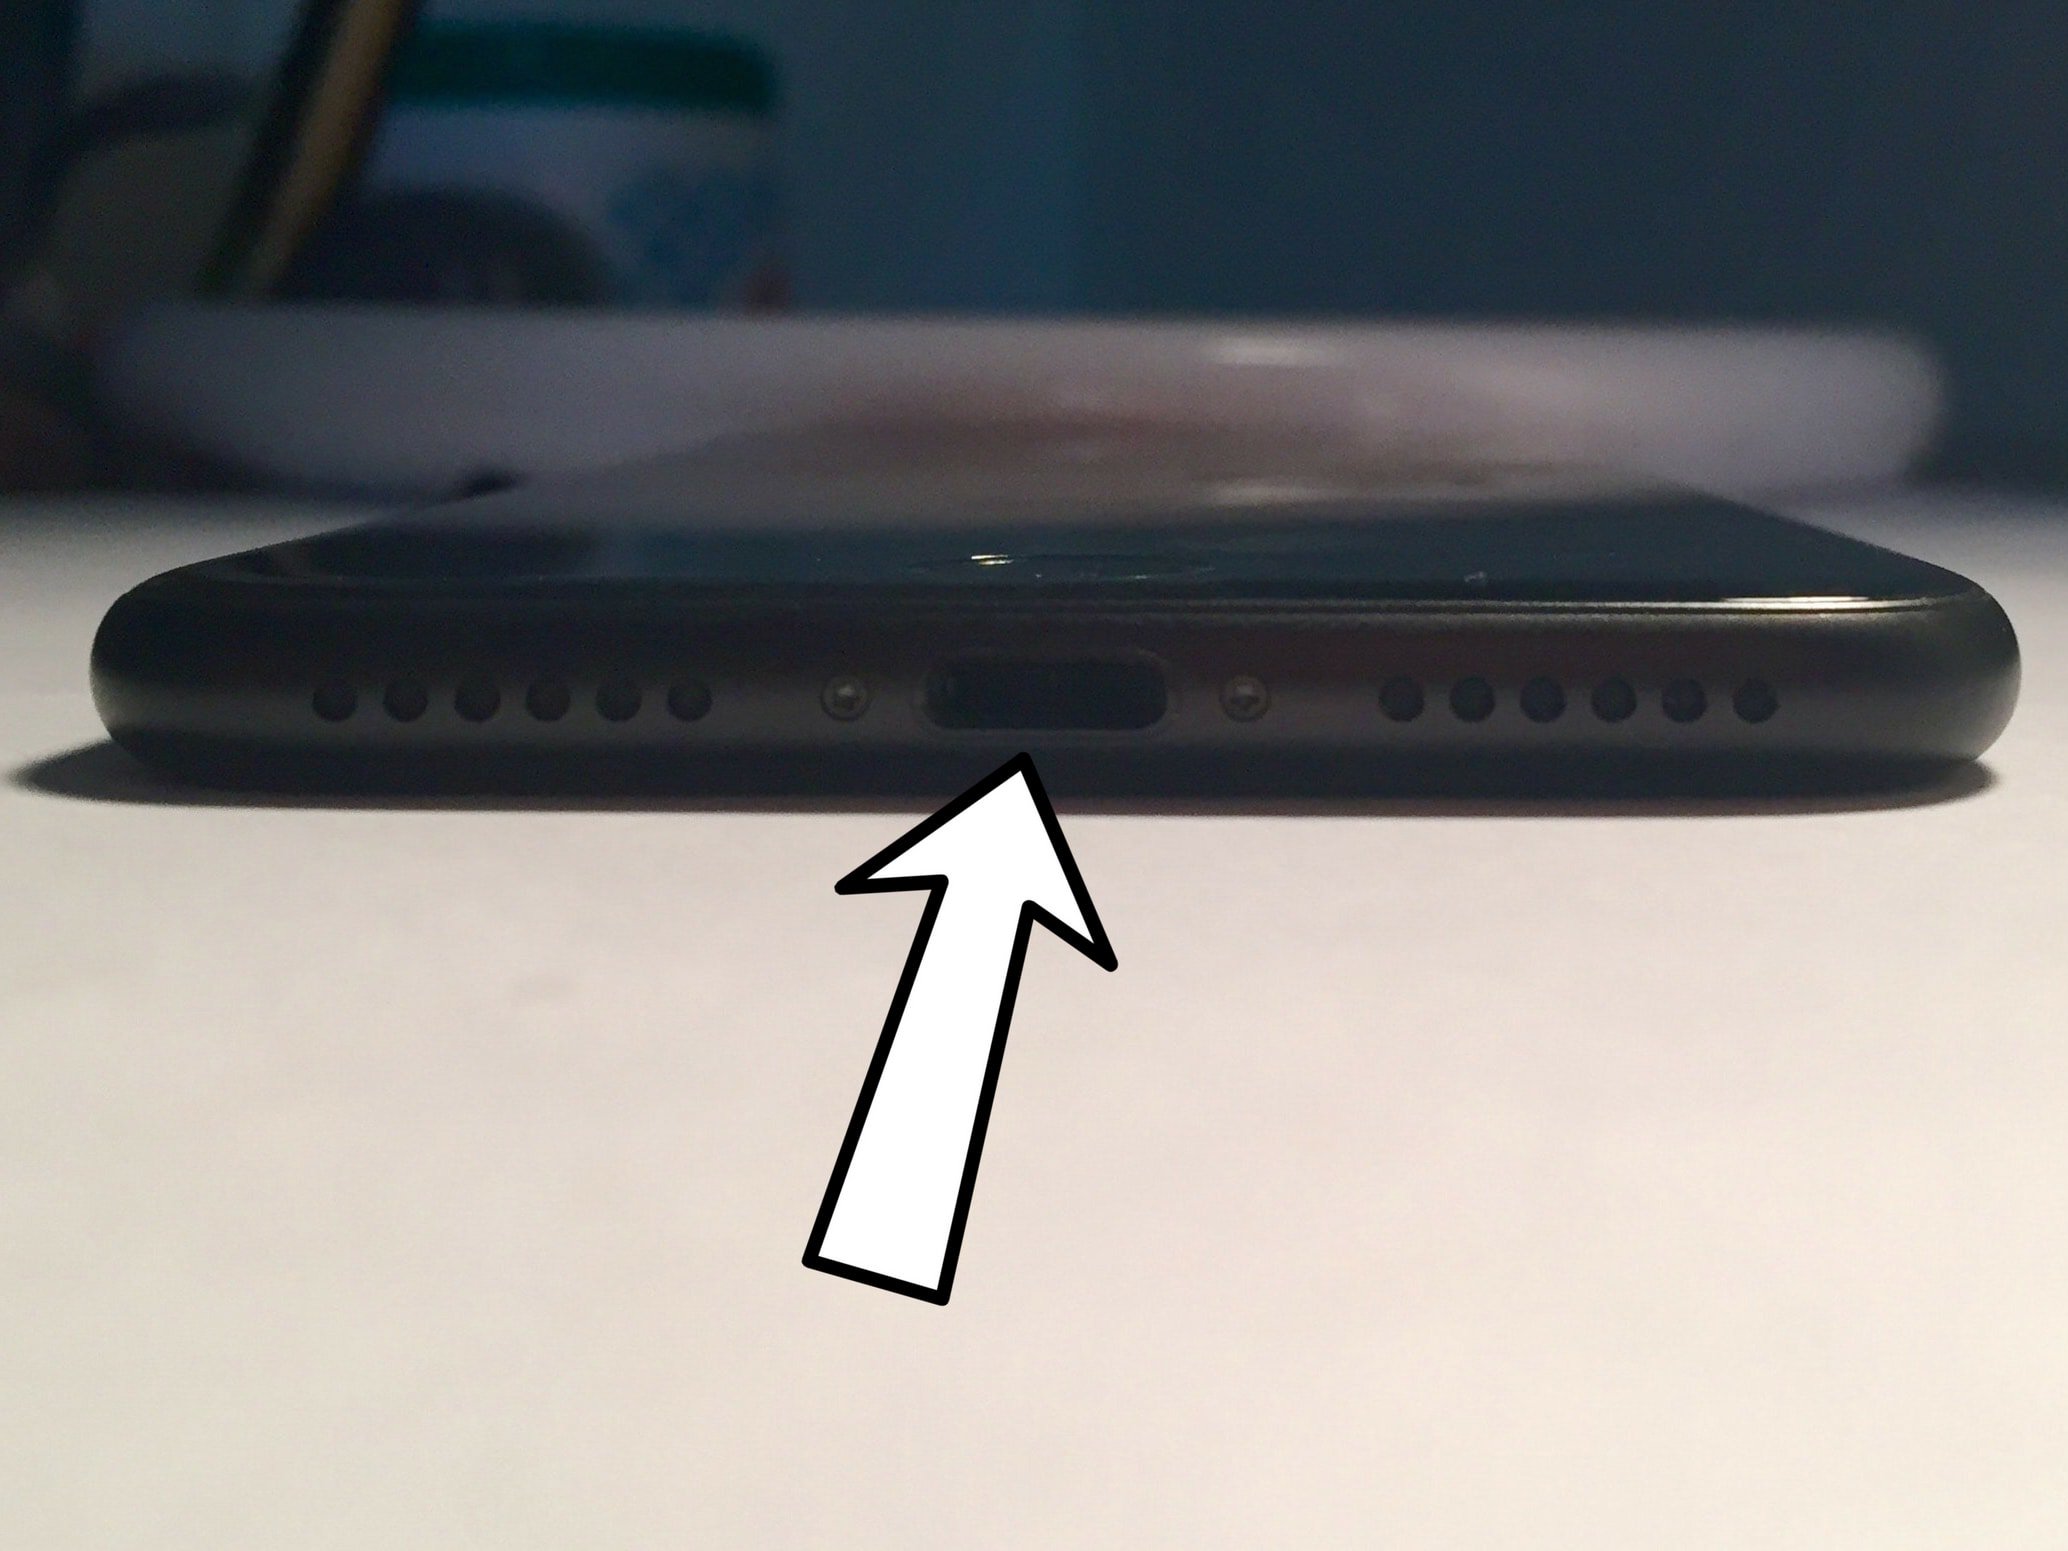
- Use a flashlight to see if there is lint, gunk, or any other debris in your iPhone's Lightning port.
- If you find debris in your iPhone's Lightning port, gently brush it out with a new toothbrush or anti-static brush.
Applies To: iPhone 5,iPhone 5S,iPhone 5C,iPhone 6,iPhone 6 Plus,iPhone 6S,iPhone 6S Plus,iPhone SE,iPhone 7,iPhone 7 Plus,iPhone 8,iPhone 8 Plus,iPhone X,iPhone XS,iPhone XS Max,iPhone XR,iPhone 11,iPhone 11 Pro,iPhone 11 Pro Max,iPhone SE 2
View More
5.
Back Up Your iPhone
It's important to back up your iPhone before doing any major restores (such as a DFU restore). If something goes wrong while you're trying to fix your iPhone, having a back up means you won't lose any of your data (such as contacts, photos, apps, and more). Restoring from a back up is a lot more convenient than having to go and reenter all the information that was saved on your iPhone.
How Do I Back Up My iPhone?
There are a few different ways to back up your iPhone:
Backup Your iPhone Using iCloud
- If you have a WiFi connection, you can back up your iPhone using iCloud.
- Open theSettings app.
- Tap on Your Name at the top of the screen.
- TapiCloud.
- Scroll down and tap oniCloud Backup.
- Make sure the switch next to iCloud Backup is on. You'll know the switch is on when the switch isgreen.
- TapBack Up Now.
- A status bar will appear to tell you how much time is remaining.
Backup Your iPhone Using iTunes
- Plug the Lightning connector on your Lightning cable (charging cable) into the Lightning port on your iPhone.
- Plug the other end of your Lightning cable into a USB port on your computer.
- Open iTunes on your computer.
- Click on the iPhone icon in the upper left hand corner of iTunes.
- Click the circle next to "iCloud"or "This computer" to select whether you want to backup your iPhone to iCloud or your computer.
- ClickBack Up Now to backup your iPhone.
- When the backup is complete, you'll see the time and date updated underLatest Backup.
Backup Your iPhone Using Finder (Macs Running Catalina 10.15 or newer)
- Connect your iPhone to your Mac using a charging cable.
- Open Finder.
- Click on your iPhone underLocations.
- Click the circle next toBack up all of the data on your iPhone to this Mac.
- ClickBack Up Now.
- When the backup is complete, you'll see the time and date updated underLatest Backup.
Applies To: iPhone 5,iPhone 5S,iPhone 5C,iPhone 6,iPhone 6 Plus,iPhone 6S,iPhone 6S Plus,iPhone SE,iPhone 7,iPhone 7 Plus,iPhone 8,iPhone 8 Plus,iPhone X,iPhone XS,iPhone XS Max,iPhone XR,iPhone 11,iPhone 11 Pro,iPhone 11 Pro Max,iPhone SE 2
View More
6.
Put Your iPhone 11, 11 Pro, Or 11 Pro Max In DFU Mode
A DFU restore is the last step you can take to completely rule out a software problem with your iPhone 11, 11 Pro, or 11 Pro Max. If you were to head into the Apple Store, the first thing they'd do is put your iPhone in DFU mode. That's why we recommend doing it at home first!
- Connect your iPhone to your computer using a Lightning cable.
- Open Finder (Macs running macOS Catalina 10.15) or iTunes (Macs running macOS Mojave 10.14 or earlier and all PCs).
- Quickly press and release the volume up button.
- Quickly press and release the volume down button.
- Press and hold the side button until the screen goes black.
- When the screen turns black, press and hold the volume down button while continuing to hold the side button.
- After 5 seconds pass, release the side button while continuing to hold the volume down button until your iPhone appears in Finder or iTunes.
- Release the volume button as soon as your iPhone appears in Finder or iTunes. Your iPhone is in DFU mode!
- Click Restore to DFU restore your iPhone.
- Keep your iPhone connected to your computer during the DFU restore.
Applies To: iPhone 11,iPhone 11 Pro,iPhone 11 Pro Max
View More
7.
Repair Your iPhone With Apple
Apple repairs iPhones at the Genius Bar in Apple Stores and through their online mail-in repair service. Apple repairs are high-quality, but out-of-warranty repairs can be much more expensive than third-party solutions. If you're looking to save some money you're not covered by Apple's warranty, you may want to check out our other recommendations.
How Do I Repair My iPhone With Apple?
How To Repair Your iPhone With Apple's Mail-In Service
- Visit Apple's support website to begin the online mail-in repair process.
- Alternatively, call 1-800-MY-APPLE (1-800-692-7753) to set up a repair.
How To Repair Your iPhone At The Genius Bar Inside Your Local Apple Store
- Visit Apple's website to make a Genius Bar appointment before you go into the store. Apple Stores are extremely busy, and if you don't have an appointment, you may have to wait for hours or end up being turned away. (Editor's note: I'm a former Apple tech and we're not exaggerating — please, do yourself a favor and make an appointment first!)
- When you arrive, go to the Genius Bar to check in for your appointment.
- Genius Bar appointments always include free diagnosis. If you're under warranty, many repairs can be done on the spot, but it all depends upon which parts are in stock. If you're not under warranty, the Genius will give you a quote for the cost of a repair.
Applies To: iPhone 5,iPhone 5S,iPhone 5C,iPhone 6,iPhone 6 Plus,iPhone 6S,iPhone 6S Plus,iPhone SE,iPhone 7,iPhone 7 Plus,iPhone 8,iPhone 8 Plus,iPhone X,iPhone XS,iPhone XS Max,iPhone XR,iPhone 11,iPhone 11 Pro,iPhone 11 Pro Max,iPhone SE 2
View More
Charging Again!
You've fixed the problem and your iPhone 11 is charging again. Next time your iPhone 11 won't charge, you'll know how to solve the problem! Leave any other questions you have down below in the comments section.
How To Fix An Iphone That Doesn T Charge
Source: https://www.upphone.com/fix/iphone/power/iphone-11-wont-charge-fix/
Posted by: brownandareat.blogspot.com
0 Response to "How To Fix An Iphone That Doesn T Charge"
Post a Comment